Migrating a Website from Other Providers
This article is to show you how to migrate a website from other providers.
1. Locate the application
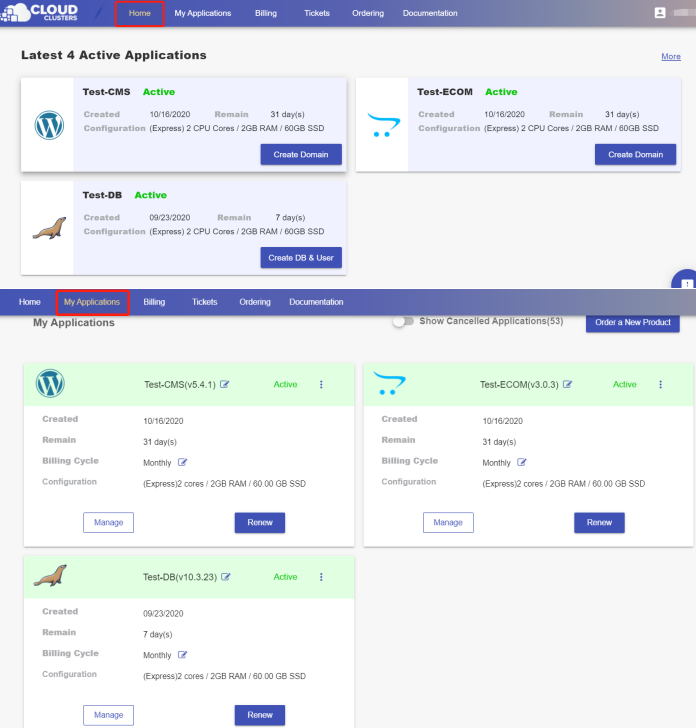
Log in to the Client Panel and locate your target deployment on the Home page or the My Applications page.
2. Upload your website files
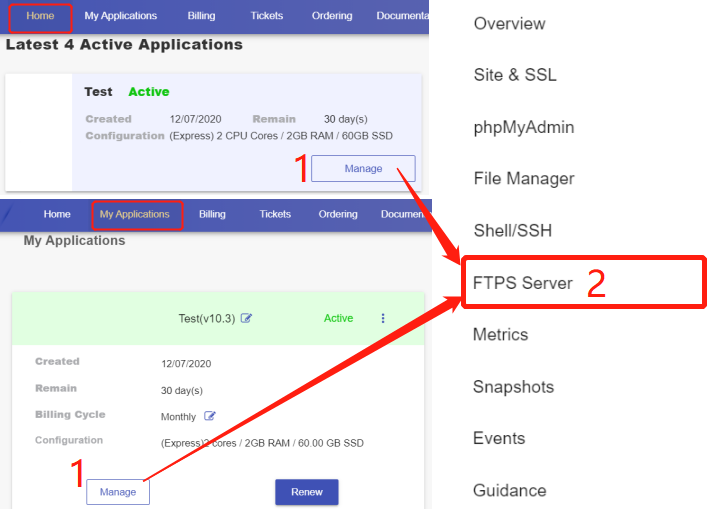
To upload files, you can use the FTPS service by clicking Manage > FTPS Server in the Control Panel. For detailed steps about transferring your files, please refer to the documentation.
3. Change the owner and group of your website files
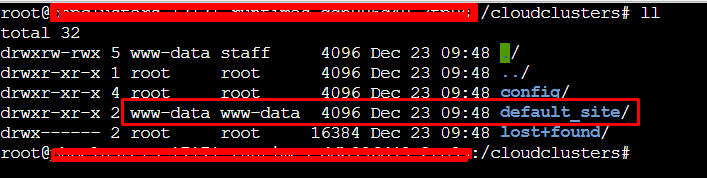
The owner and group of your website files both should be www-data. If they are not, please change them to www-data by using command
“chown -R www-data:www-data /cloudclusters/default_site”
Check the owner and group of your uploaded files
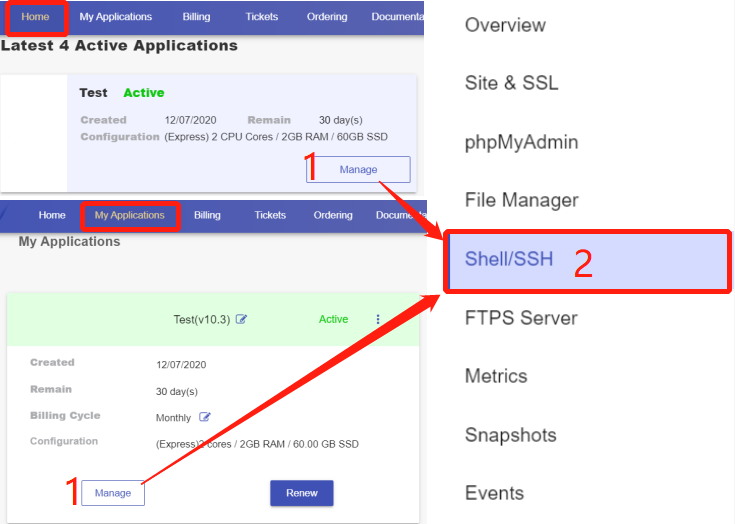
Click the "Manage" button on the Home page or the My Applications page. Then Click the "Shell / SSH" tab in the menu bar.
On the Shell / SSH page, you can see a "Connect" button, which is only open to the accounts that has passed our verification process for security reasons. To update your billing account information, please log in to the client panel.
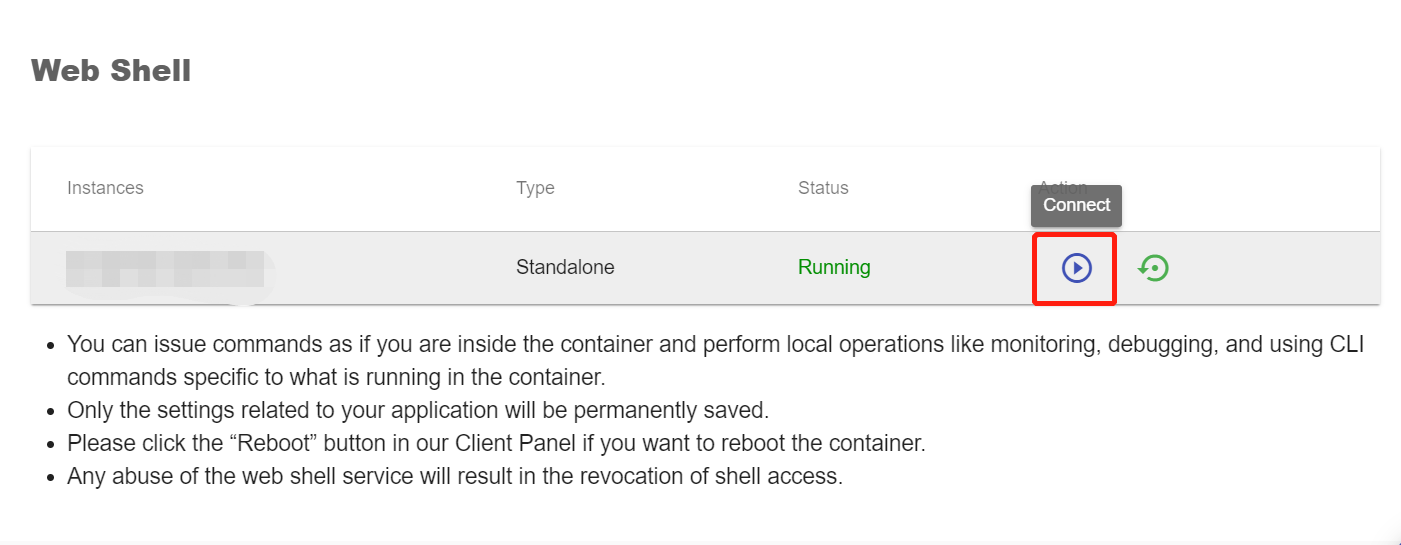
Click the Connect button to initiate a shell session. You can issue commands in it.
Navigate to the root directory of WordPress and run command ‘ll’ to list the file owner and group of each file or directory.
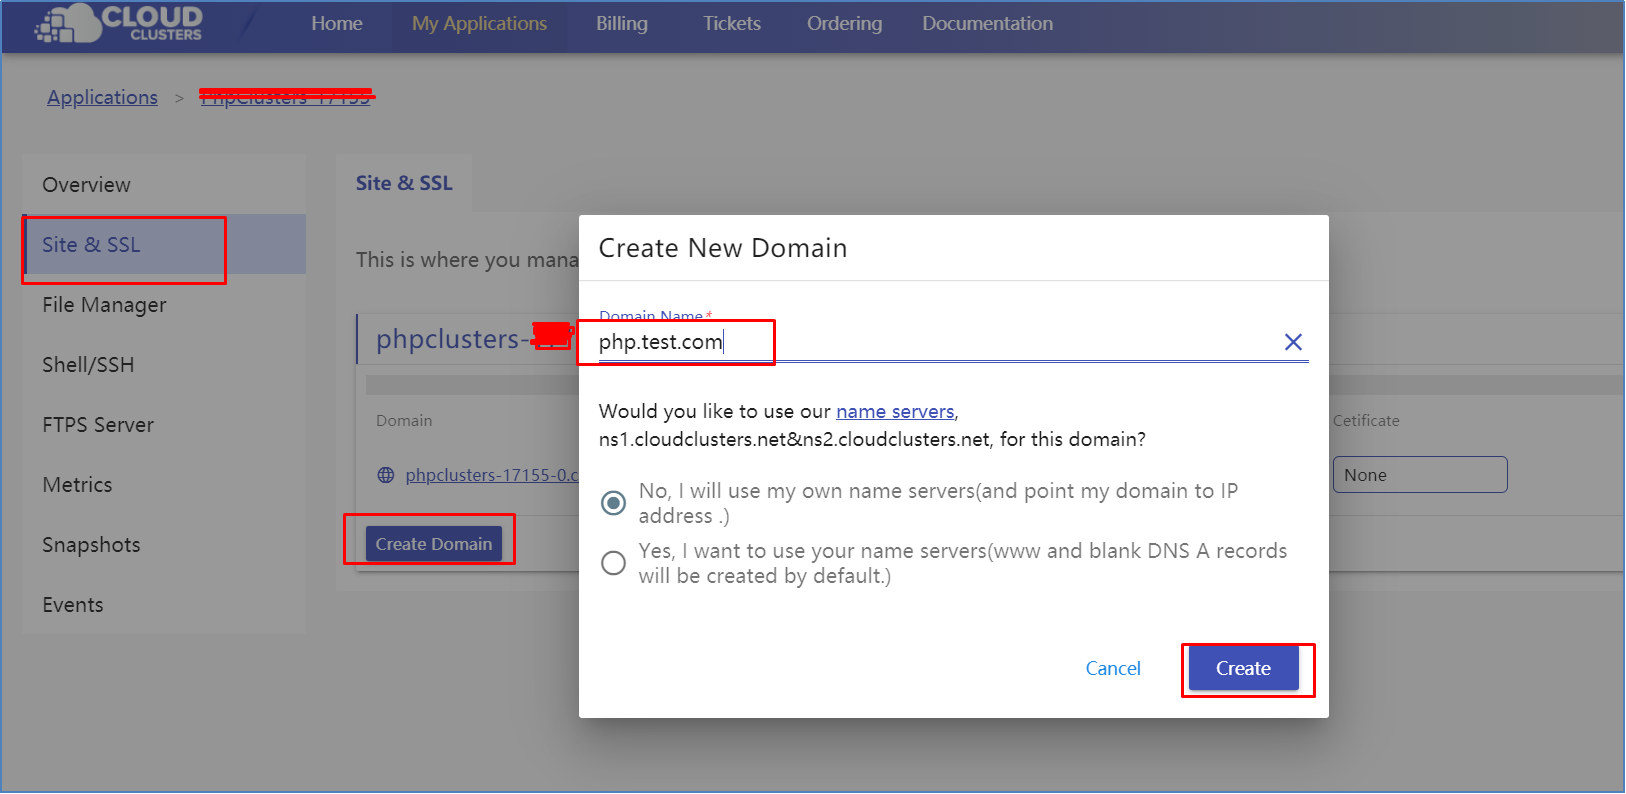
4. Create your own domain
Navigate to Site & SSL page and create your own domain.
5. Add DNS records for the domain
Please refer to Managing DNS Records to update the DNS records if you are using our nameservers (ns1.cloudclusters.net and ns2.cloudclusters.net).
6. Install an SSL for your website
Please refer to the following links to install an SSL certificate for your websites.
We support the installation of free SSL certificates and customized SSL certificates.